

How to install a binocular camera module?
Nov 04, 2026
Leave a message
Hey there! As a supplier of binocular camera modules, I'm stoked to share with you how to install one of these bad boys. Whether you're a tech enthusiast looking to tinker with some cool gear or a professional in need of a reliable setup, this guide will walk you through the process step by step.
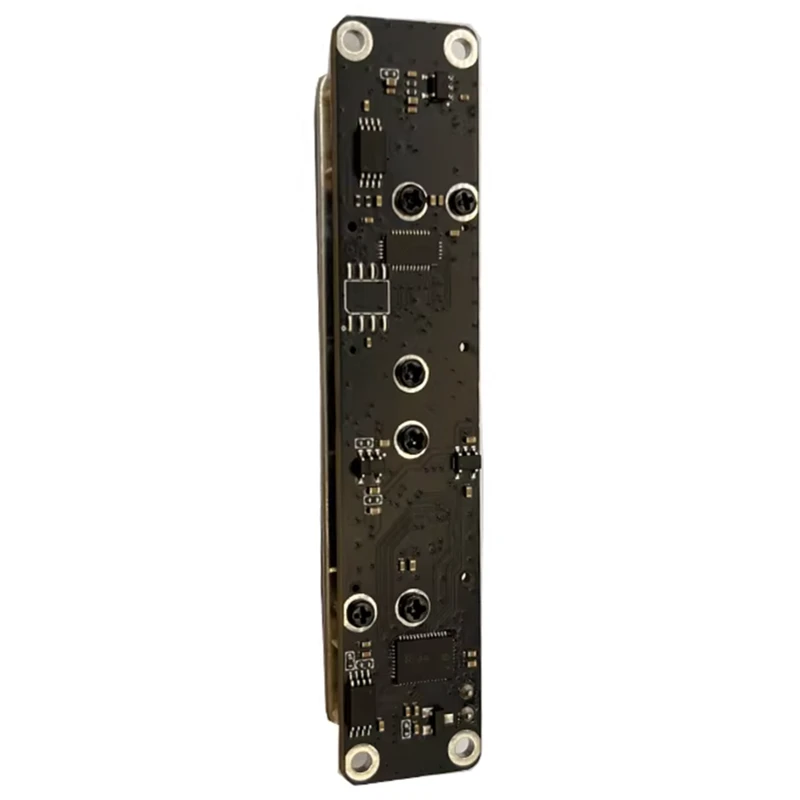
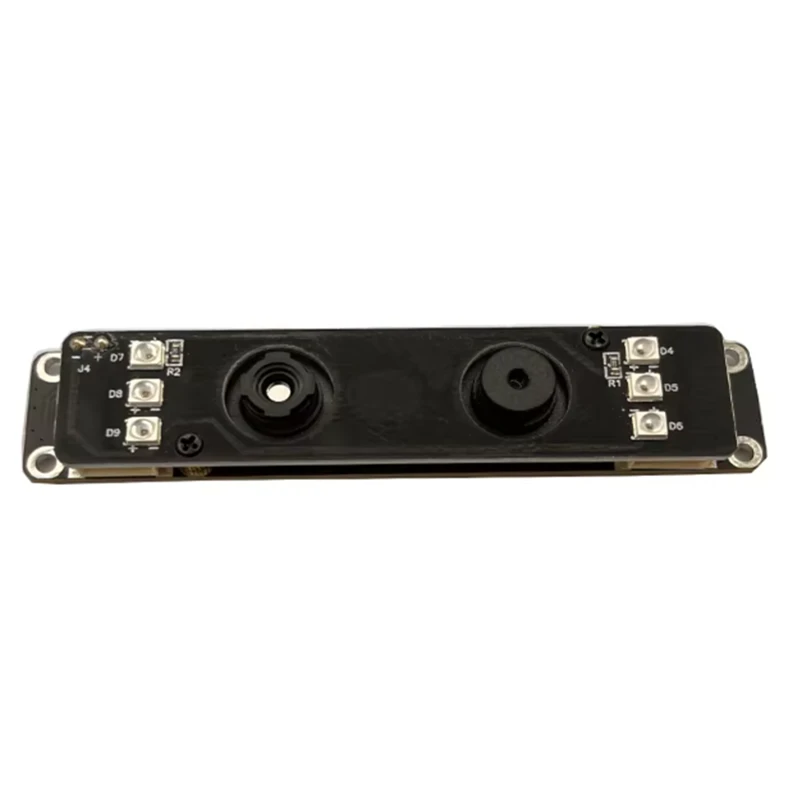
First things first, let's talk about what a binocular camera module is. It's basically two cameras working in tandem to capture a 3D view of the world around you. This can be super useful for a variety of applications, like robotics, virtual reality, and even security systems.
Before you start the installation process, make sure you have all the necessary tools and materials. You'll typically need a screwdriver, some mounting brackets, and of course, the binocular camera module itself. We offer a range of high - quality modules, such as the Stereo Camera Module 2MP and the Stereo Camera Module 2MP WDR, which are great options for different needs.
Step 1: Choose the Right Location
The first step in installing your binocular camera module is to find the perfect spot for it. You want to place it in an area where it has a clear view of the subject you're trying to capture. For example, if you're using it for a security system, you'll want to mount it at a height where it can cover a wide area without any obstructions.
If you're using it for a robotics project, you'll need to consider the movement of the robot and make sure the cameras are positioned in a way that they can provide useful data. Once you've found the right location, mark the spots where you'll be mounting the camera module using a pencil or a marker.
Step 2: Prepare the Mounting Surface
Now that you've marked the mounting spots, it's time to prepare the surface. If you're mounting the camera on a wall, make sure the wall is clean and free of any debris. You can use a damp cloth to wipe it down. If you're mounting it on a metal or plastic surface, you might need to use sandpaper to roughen up the area a bit to ensure a better grip for the mounting brackets.
Step 3: Install the Mounting Brackets
Take your mounting brackets and align them with the marked spots on the surface. Use the screwdriver to attach the brackets securely. Make sure they're level and tight. If the brackets are not installed properly, the camera module might not be stable, which can affect the quality of the images it captures.
Step 4: Attach the Binocular Camera Module
Once the mounting brackets are in place, it's time to attach the binocular camera module. Carefully place the module on the brackets and use the screws provided to secure it. Make sure the module is firmly attached and doesn't wobble.
Step 5: Connect the Cables
Most binocular camera modules come with cables for power and data transfer. Connect the power cable to a suitable power source. Make sure the voltage and current ratings of the power source match the requirements of the camera module.
Next, connect the data cable to your computer or other device. If you're using a USB - based camera, such as our 2MP USB Camera, simply plug it into a USB port on your computer.
Step 6: Configure the Camera Settings
After connecting the camera, you'll need to configure the settings. This can usually be done through software provided by the camera manufacturer. Open the software and follow the on - screen instructions to adjust the settings such as resolution, frame rate, and exposure. You might also need to calibrate the cameras to ensure accurate 3D imaging.
Step 7: Test the Camera
Once you've configured the settings, it's time to test the camera. Open an application that can display the camera feed, such as a video player or a 3D imaging software. Check if the camera is capturing clear images and if the 3D effect is working properly. If you encounter any issues, double - check the connections and the settings.
Troubleshooting Tips
- No image display: Check if the power cable is properly connected and if the camera is getting power. Also, make sure the data cable is connected to the correct port on your computer.
- Blurry images: Check the focus settings of the cameras. You might need to adjust the lens to get a clear image.
- Inaccurate 3D effect: Make sure the cameras are properly calibrated. You might need to repeat the calibration process if the effect is not accurate.
So there you have it! That's how you install a binocular camera module. It might seem a bit daunting at first, but if you follow these steps, you'll have your camera up and running in no time.
If you're interested in purchasing a binocular camera module for your project, we're here to help. Our range of products, including the Stereo Camera Module 2MP, Stereo Camera Module 2MP WDR, and 2MP USB Camera, are designed to meet different needs and budgets. We're always happy to discuss your requirements and provide you with the best solution. So don't hesitate to reach out for a purchase negotiation.
References
- Camera module user manuals provided by the manufacturer.
- Online resources and forums for camera installation and troubleshooting.